
Friday, August 18, 2006
Searching for pre-renovation defects....
When we first open the door to our new home, we were ecstatic! This being the biggest investment of our life, the starting point to a journey together! After the initial euphoria of finally stepping into our new home, admiring the home and the various views the different rooms offer, it is time to get down to business! Finding pre-renovation defects!
Nothing is perfect in this world. This is especially true when the product is the result of a combination of people working together to produce it… in this case, our flat.
HDB has put in place procedures to allow the reporting of pre-renovation defects, so that they can do the necessary rectification before renovation starts. This is to reduce any argument you may have with your renovation contractor/ID when you find a defect during the course of your renovation.
It is therefore, VERY, VERY important to make sure you list down ALL defects (as many as you can find) to get the estate manager to fix it for you before your contractor starts the renovation works.
If you have already engaged a contractor/ID, you can compile a pre-renovation defects list together. If not, the following steps will be useful to seek out the various pre-renovation defects when reporting to your branch office.
Arm yourself with a marker, masking tape, a night light that is able to plug into any three-pin socket and a metal rod (spoon, spanner... doesn't matter). The rod is mainly for the purpose of finding hollow tiles.
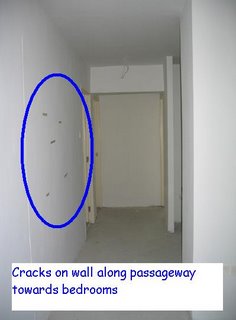
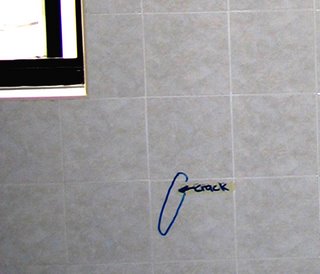
Now, with a fine tooth comb, go thru the rooms, one by one, and inspect every nook and cranny. Any hairline cracks, any holes that are not suppose to be there, report it.
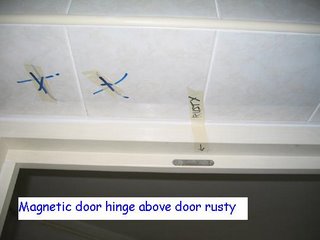
Try all the switches, ensure that they are easy to switch on and off. Plug in the night light to see if the electrical points are ok. Ensure that the electrical points are not mouldy. Anything you see, that you are not happy with, note it down, and use a masking tape to indicate it clearly. Don't worry about the paint peeling off when the tape is removed, you are gonna be painting the whole house when renovation start anyways.
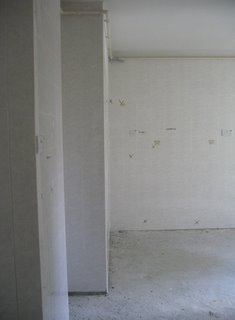
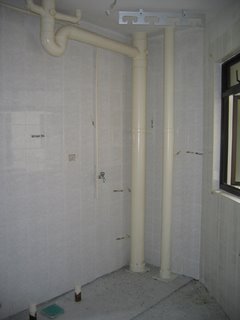
Check the toilets... ensure that the taps are working and not mouldy. Unless you are going to hack away the existing tiles and re-do them, check the tiles for defects, and with the metal rod, tap lightly on all corners of the tile. Some tiles are hollow only in one part of the whole tile, so it is imperative that you tap all corners of the tile to ensure that they are not hollow.
This is gonna be a tedious affair, we know, but it is important! Your water-heater, bathroom accessories are gonna be mounted on top of these tiles! There were cases where contractors have done up the whole house, attempting to drill holes to mount the bathroom accessories, the tiles for a whole wall has collapsed cos they were hollow.
FYI, we took two days to go thru all the tiles in our home, one for the toilets and another for the kitchen.
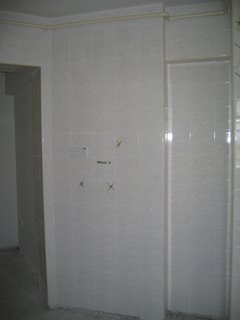
Same goes for the kitchen. This is especially important, as your kitchen cabinets will most likely be wall mounted. Any hollow tiles will not be able to take the weight of the wall mount. There has been cases where the cabinets collapsing due to this, so do take note.
If the unit you are getting is a premium one, where the flooring is done as well, ensure you do the same for the floor tiles. Pockets of air trapped in the hollow tiles, may sometime expand due to the hot weather here, causing the tiles to pop when the pressure is too much for the hollow cavity to contain it. So it is important to get these rectified as well.
When HDB tries to build flats quickly at a budget, this kinda workmanship are bound to happen, so get it all fixed before renovation starts.
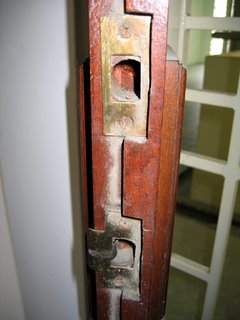
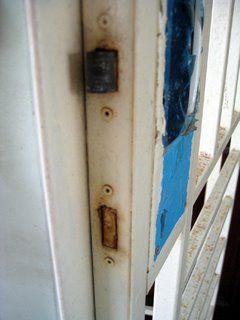
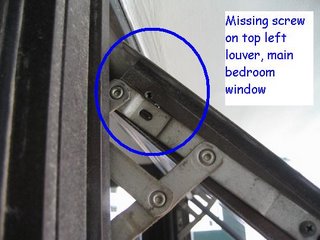
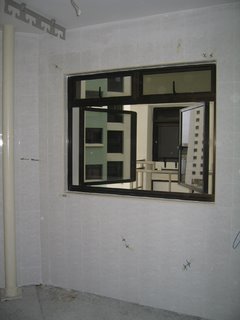
Some of our defects…
Prev: Pictures of Original Home
Next: Pre-renovation Defect list
# posted by GnM @ 1:42 AM 
![]()
